Instruction of Deploy a New Primary ADFS Server
1. Install the SSL Certificate
Prepare your new primary ADFS server. Join the primary ADFS server to your domain. Install your SSL certificate and import the certificate to the local computer’s certificates personal store.

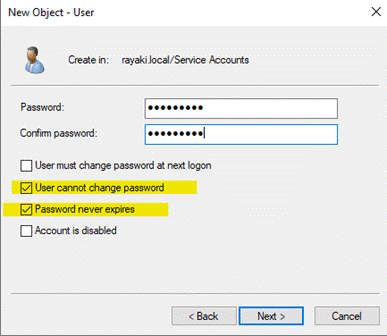
2. Create the ADFS Service Account
(Recommend) Move to Domain Controller, create a new ADFS Service Account, make sure this user account is added to the local administrators group of your AD FS server.
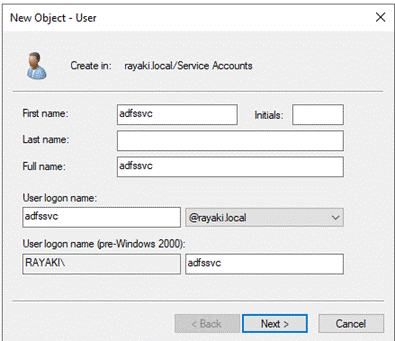
Otherwise, we can create and use a Managed Service Account instead of manully creating a user. And the Active Directory Federation Service is running under the above ADFS service account.
3. Set Service Principal Name for the Service Account
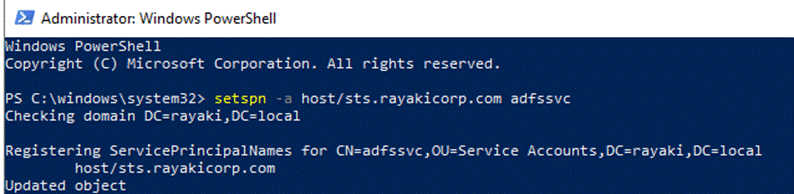
3.1 Add the SPN (Option 1: Use PowerShell Command)
(Important) Set the SPN (Service Principal Name) for this service account. By running the following PowerShell command:
setspn -a host/<server name> <service account>
setspn -a http/<server name> <service account>
3.2 Add the SPN (Option 2: Manually Add through the Attribute Editor)
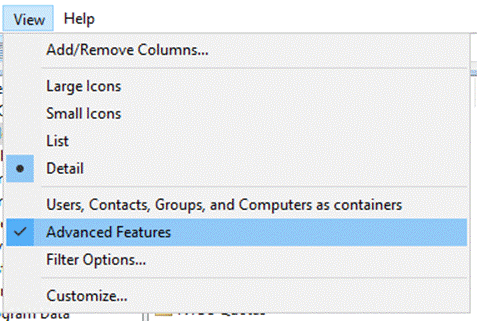
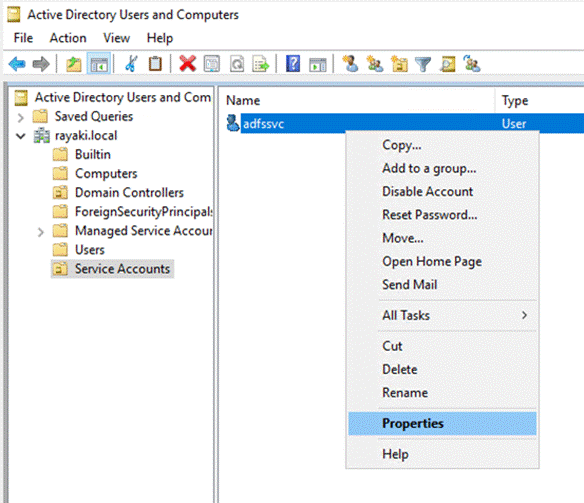
Go to Active Directory Users and Computers > Click View > Mark Advanced Features > right click this service account > Properties
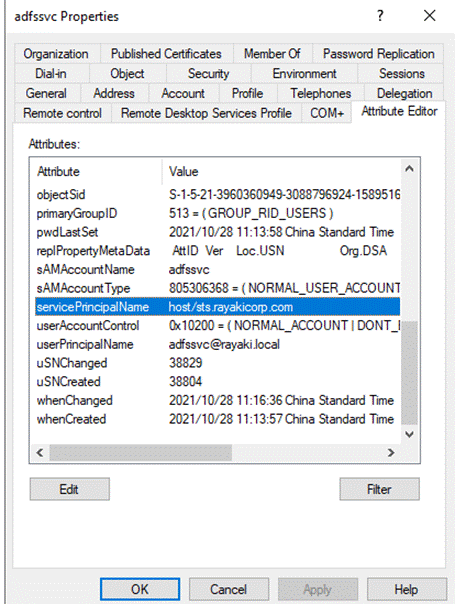
Open Attribute Editor tab > Find servicePrincipalName attribute > Double click the attribute > Add host/http entries in it > Click Add > Click OK

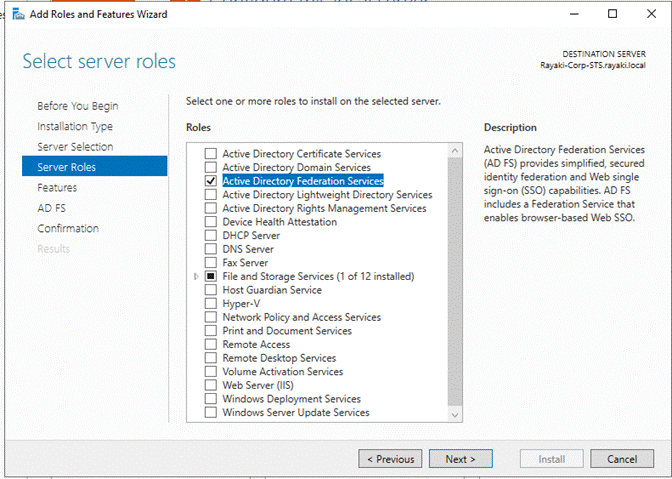
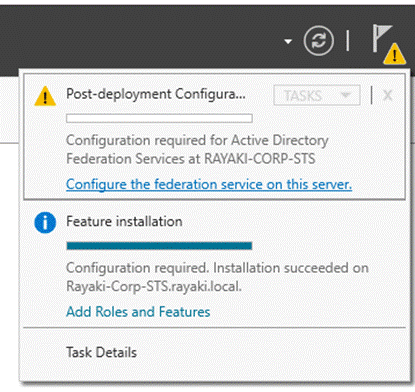
4. Add the Active Directory Federation Service Role
Move to the ADFS Server, add Server Role “Active Directory Federation Service” by Server Manager. After server role has been added, we will continue to “Configure the federation service at the server“
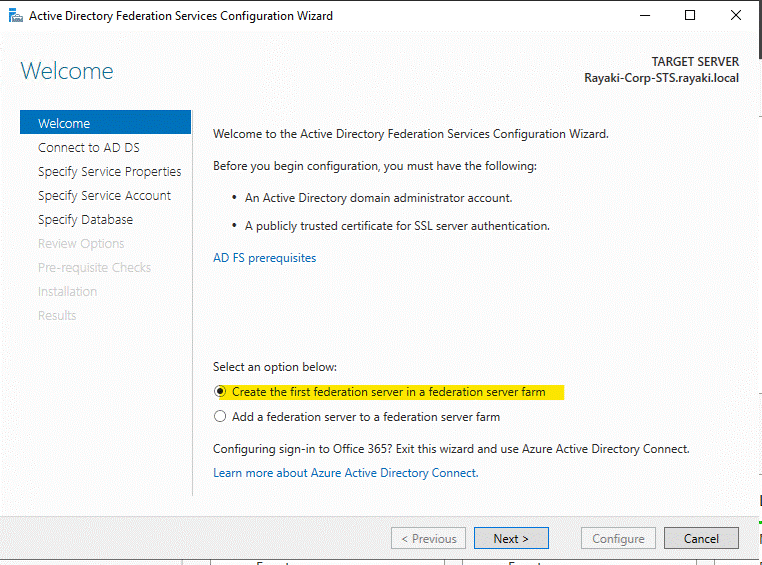
As we are setting up our new ADFS, select “Create the first federation server in a federation server farm” > Make sure there is “Domain Admin” connected to ADDS
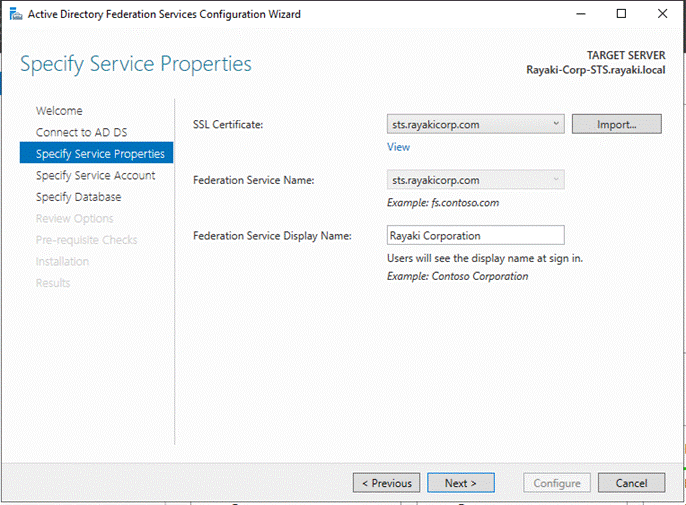
Select the SSL certificate we previously installed
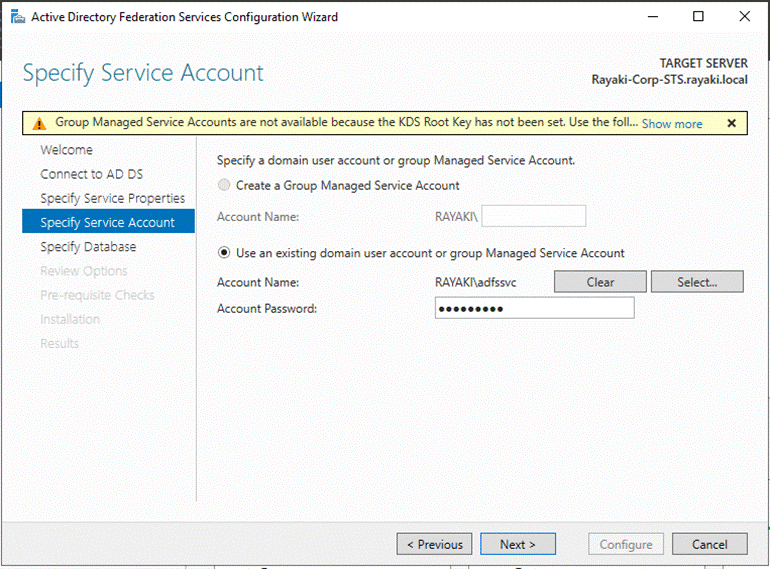
(Important) Choose the ADFS service account that we previously configured
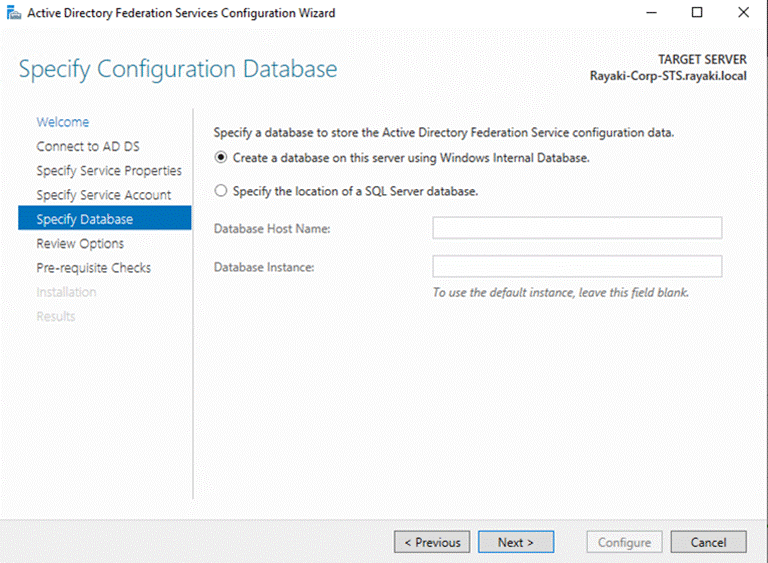
Choose the database depends on our environment (e.g. The default Windows Internal Database)
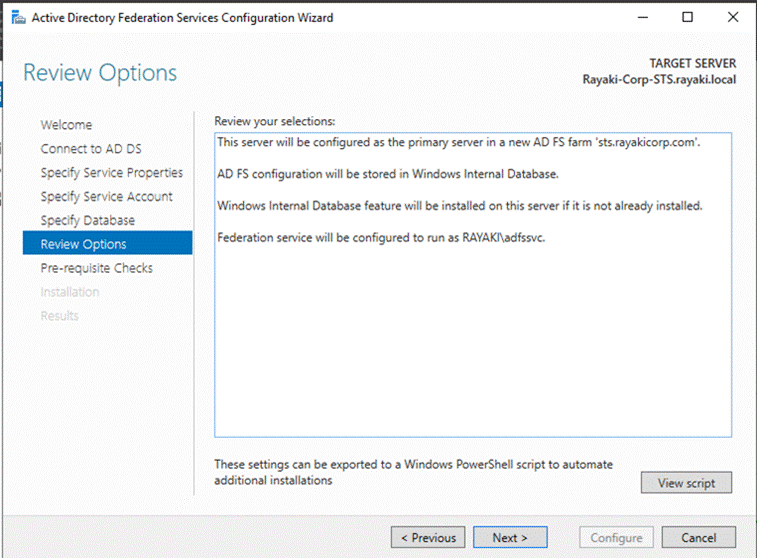
Review and Click Next > Click Configure > Finish the configuration
4. Create the DNS Zone & Records for the Active Directory Federation Service
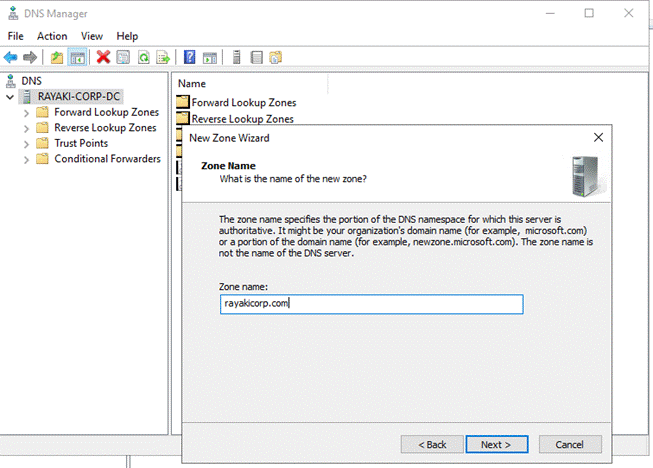
4.1 Create the DNS Zone
Move to the Domain Contoller, open DNS Manager > Expand “PDC” and create a “New Zone” under “Forward Lookup Zone” > Keep default zone type as “Primary Zone” > Enter the added Public Domain Name under Zone name > Finish rest of configuration with default settings. 
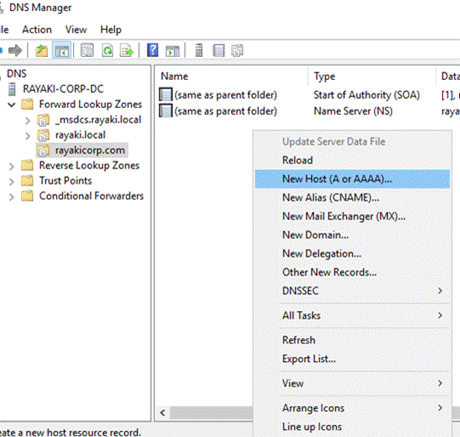
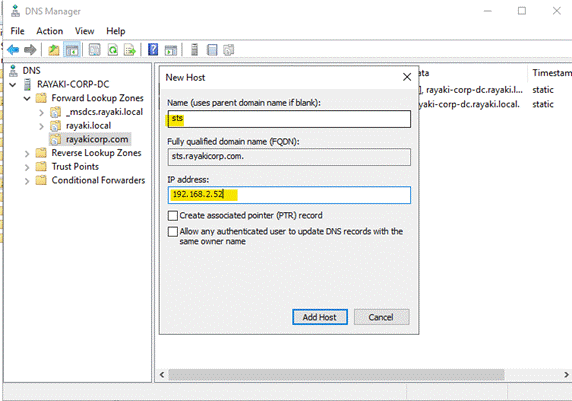
4.2 Create the A Record
Right click the Zone > New Host (A or AAAA) > Fill in the ADFS service name and ADFS server IPv4 address
5. Verify the Active Directory Federation Service Fucntion
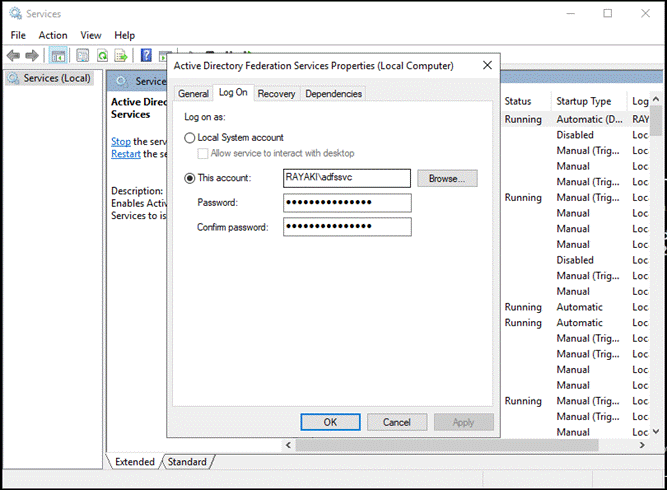
5.1 Verify the Active Directory Federation Service Account
Open Services > Double click Active Directory Federation Service > Change to Log on tab > And verify our service account
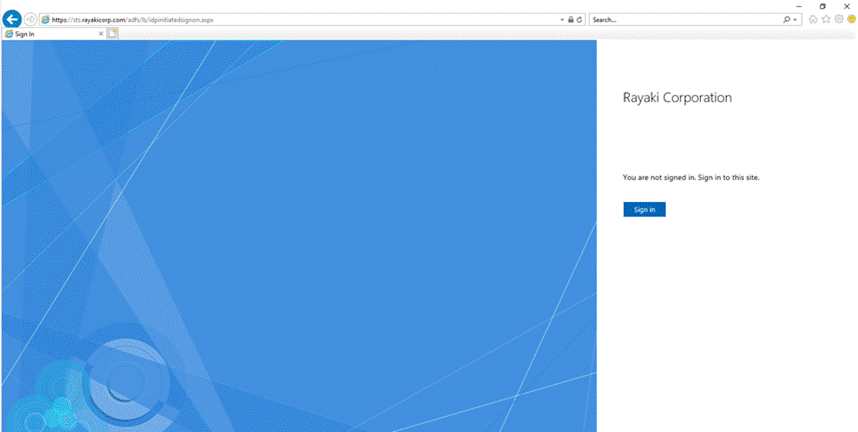
5.2 Test the IDP Sign-in Dummy Page
IDP test page is disabled by default. You will need to manually enable IDP page, you can use following PowerShell command to enable it:
Set-AdfsProperties -EnableIdpInitiatedSignonPage $true
After IDP page is enabled, please test sign-in from ADFS IDP page:
https://<youradfsservicename>/adfs/ls/idpinitiatedsignon.aspx